This ActiveCampaign tutorial aims to guide you through setting up your first email campaign, with recommendations on where to include images for a visually engaging user experience.
ActiveCampaign is a formidable platform that combines email marketing, automation, and customer relationship management functionalities. Learning its ropes can significantly elevate your marketing campaigns.
Table of Contents
- Step 1: Begin the ActiveCampaign Tutorial by Setting Up Your Account
- Step 2: Import Contacts
- Step 3: Create Your First Campaign
- Step 4: Design Your Email
- Step 5: Configure Campaign Settings
- Step 6: Test Your Email
- Step 7: Send or Schedule Your Campaign
- Step 8: Monitor Campaign Performance
- Step 9: Optimize Future Campaigns
- Conclusion:
Step 1: Begin the ActiveCampaign Tutorial by Setting Up Your Account
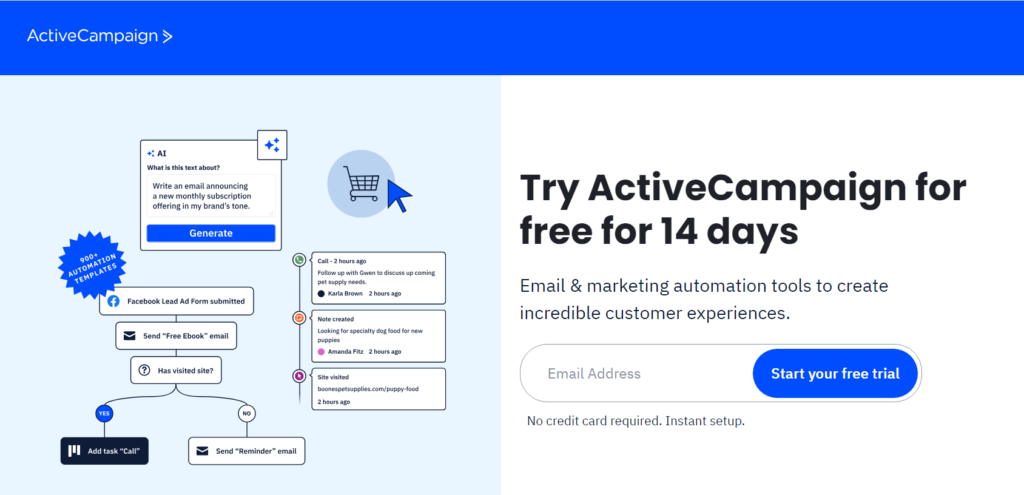
- Sign up for an ActiveCampaign login account, select a suitable plan, and complete the registration.
- Log in and set up your account by adding company details and integrating your website.
Step 2: Import Contacts

- Navigate to the ‘Contacts’ tab and click on ‘Import.’
- Import contacts via a CSV file or sync with Gmail or Shopify.
Step 3: Create Your First Campaign

- Click on ‘Campaigns’ then ‘New Campaign.’
- Choose a campaign type, name your campaign, and select your target contact list.
Step 4: Design Your Email

- Customize a template that reflects your brand with the drag-and-drop editor.
- Include pictures, text, buttons, and social media links as needed.
Step 5: Configure Campaign Settings

- Set the campaign name, subject, and sender information.
- Schedule your campaign later or set it to send based on your contacts’ time zones.
Step 6: Test Your Email

- Dispatch a test email to yourself or your team to look for formatting discrepancies or typographical errors.
Step 7: Send or Schedule Your Campaign

- Review and adjust campaign settings to send immediately or schedule for the future.
Step 8: Monitor Campaign Performance

- After sending, monitor the performance through ActiveCampaign’s analytics.
- Track open rates, click rates, and other engagement indicators to assess email success. Use simple language, keep sentences short, and put the most critical information first.
Step 9: Optimize Future Campaigns

- Use insights from analytics to optimize future campaigns.
- Test other subject lines, email content, and sending times to improve engagement.
Conclusion:
Starting your ActiveCampaign journey requires patience, learning, and creativity. The steps outlined above, accompanied by visuals, provide a foundational pathway to mastering ActiveCampaign for your email marketing endeavors.
As you familiarize yourself with the platform, the potential to create visually captivating and effective email campaigns is immense.
If you want to see how ActiveCampaign holds up against other email marketing tools like tinyEmail, check out my recent blog.
Happy emailing!

Hi, I’m Scott! I love exploring and sharing the latest in tech, digital marketing, and productivity tools. Join me on SprintSlice for easy-to-follow reviews and tips on making the most of your digital tools.